
Key takeaways
- The correct V-belt tension is the lowest tension at which the belt does not slip under peak load — not 'as tight as possible'.
- Align pulleys before touching tension: misalignment kills belts regardless of how well they are tensioned.
- Use the deflection method: about 16 mm of give per metre of span under the section's test force.
- Re-tension after the first 0.5–4 hours of loaded running — new belts seat and lose tension fast, and skipping this step is the most common cause of early failure.

Why tension matters more than belt quality
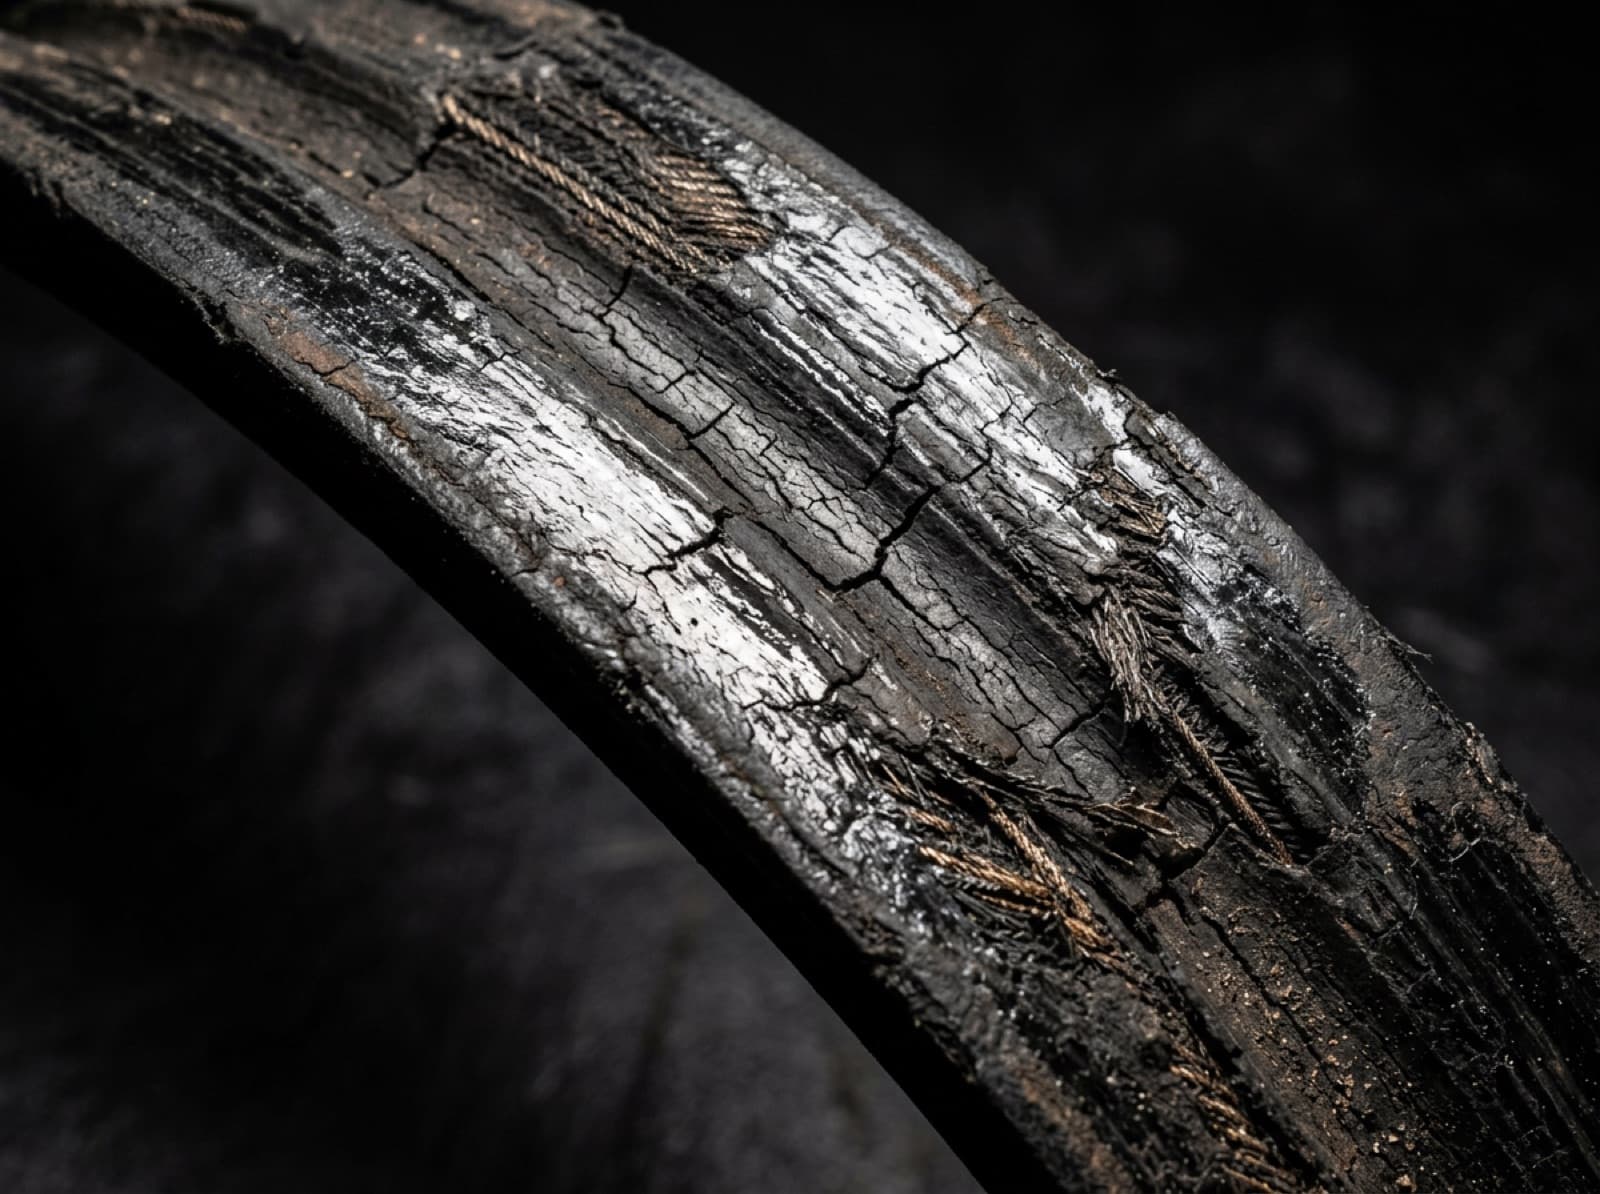
A premium belt installed badly fails faster than an average belt installed well. Under-tensioned, a V-belt slips: friction heat glazes the flanks, the glaze reduces grip further, and the belt burns out in a self-accelerating spiral. Over-tensioned, the belt survives — but it drags the motor and driven bearings with it, stretches the cords, and turns a $30 belt problem into a $500 bearing job.
The good news: correct installation is a 30-minute, four-step procedure that needs a straightedge, a tape measure and — ideally — a $50 tension gauge.
Step 1 — Align the pulleys
Lock out the drive, then lay a straightedge (or laser line) across both pulley faces. It should touch each pulley at two points — four points of contact in total. A visible gap means offset or angular misalignment: correct it by moving the motor on its slots until the straightedge sits flush. Aim for better than 0.5° — about 5 mm of error per metre of centre distance is already too much.
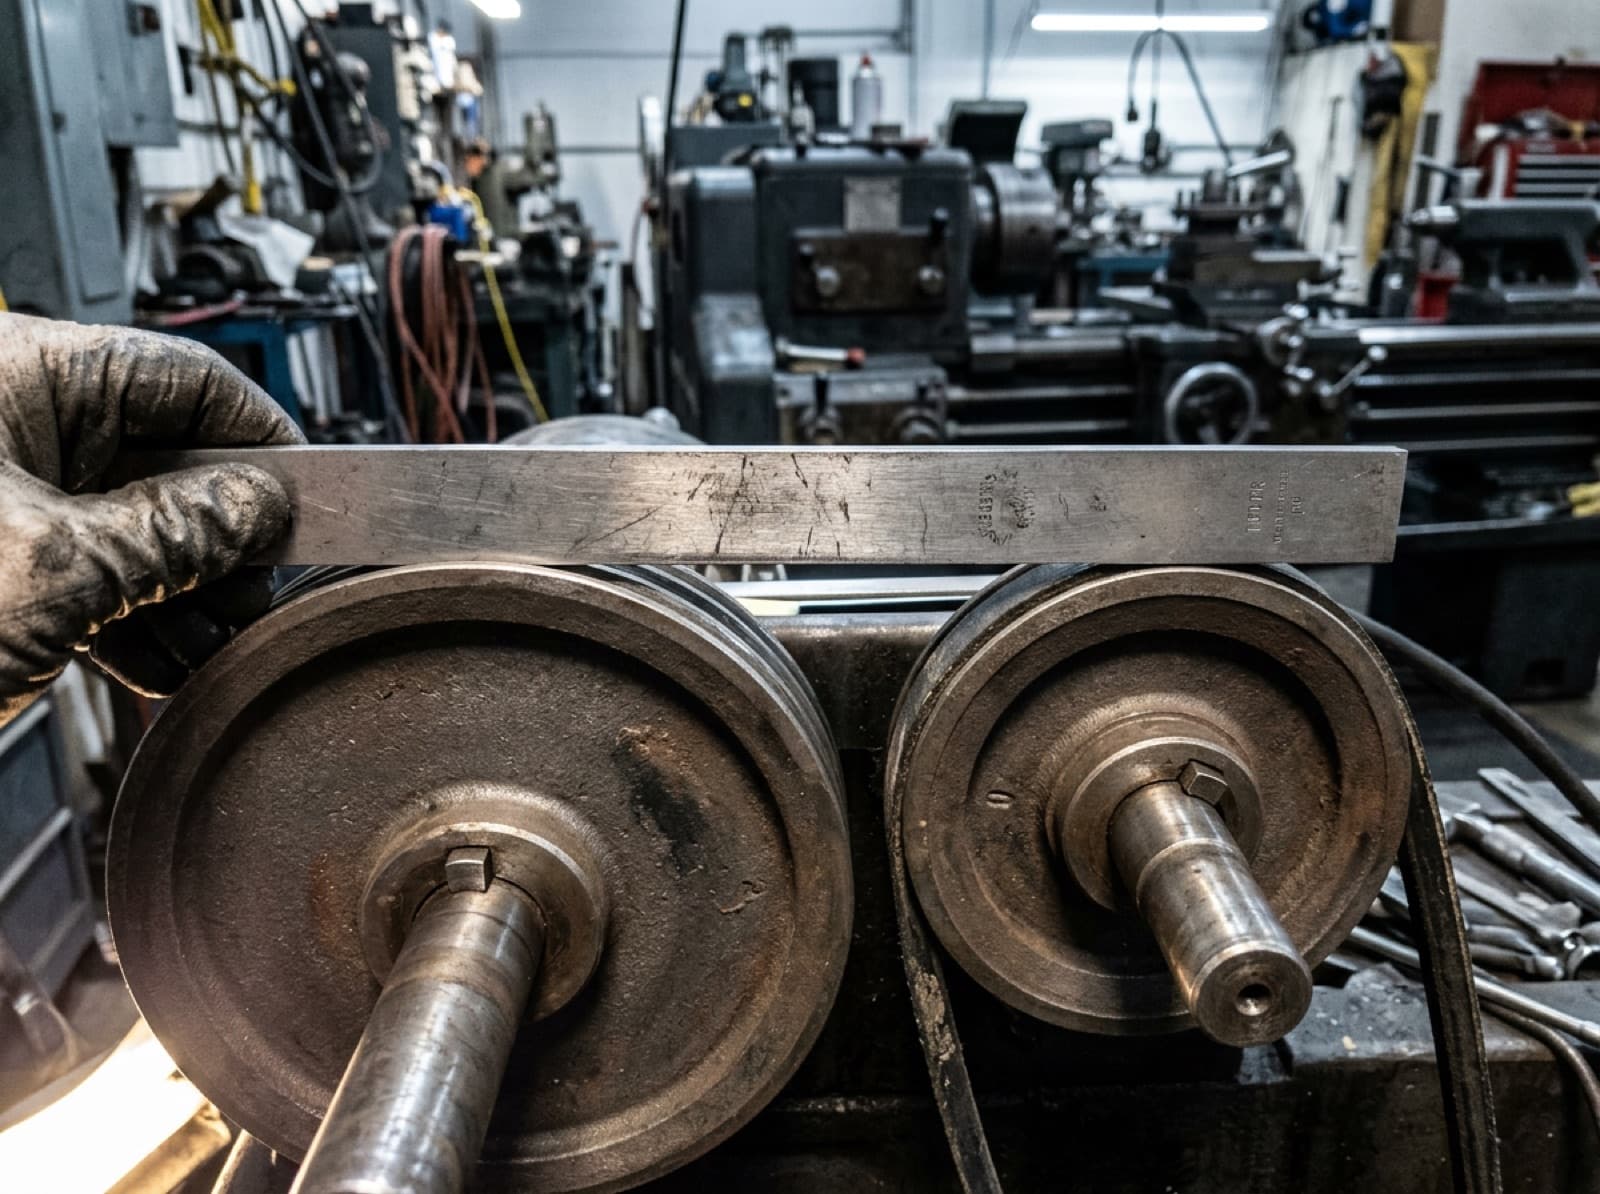
Misalignment wears one flank first.
Step 2 — Install without prying
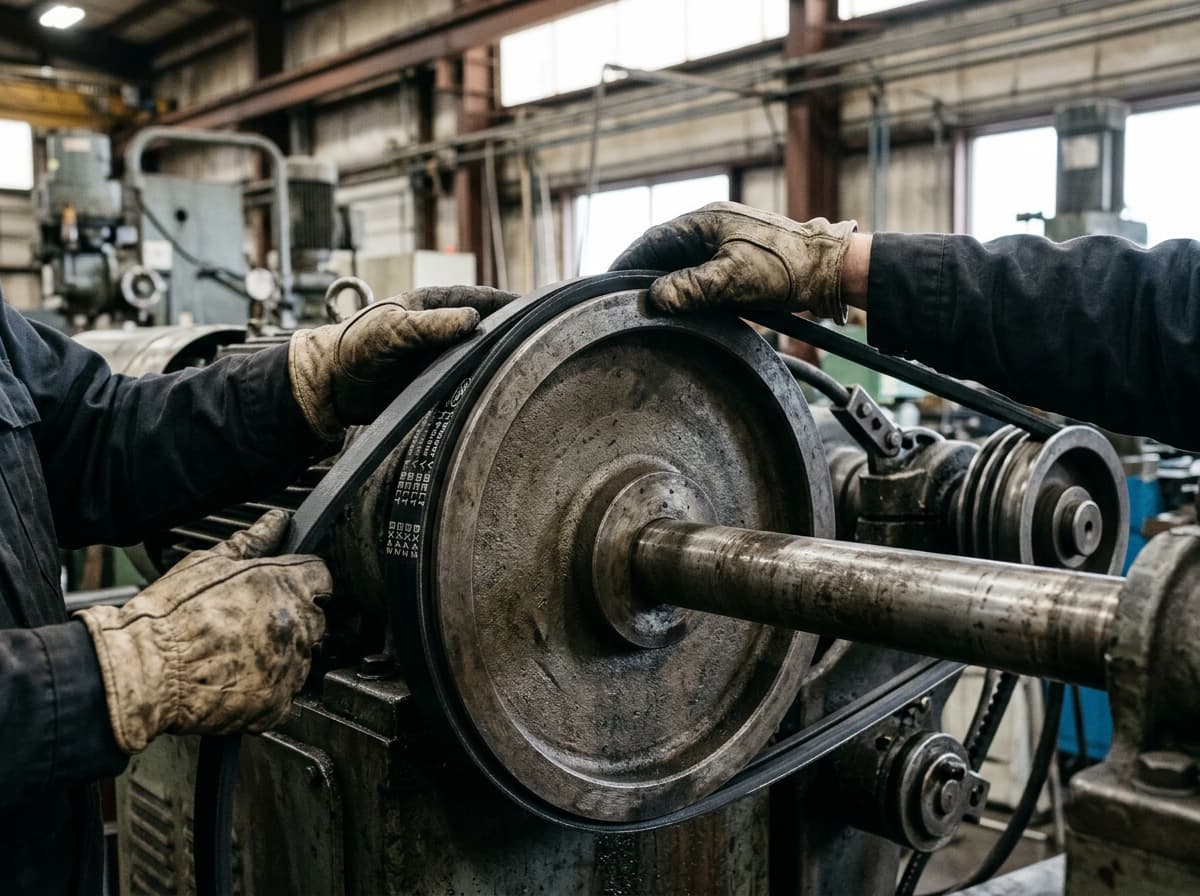
Slacken the drive — motor slide base, adjusting screw or idler — until the new belt slips over the pulleys by hand. Levering a belt over the rim with a screwdriver snaps tension cords invisibly; the belt then fails weeks later for no apparent reason. While the drive is open, check the grooves: shiny, dished flanks or a belt that sits below the rim mean the pulley itself is due for replacement.
Step 3 — Set tension by deflection
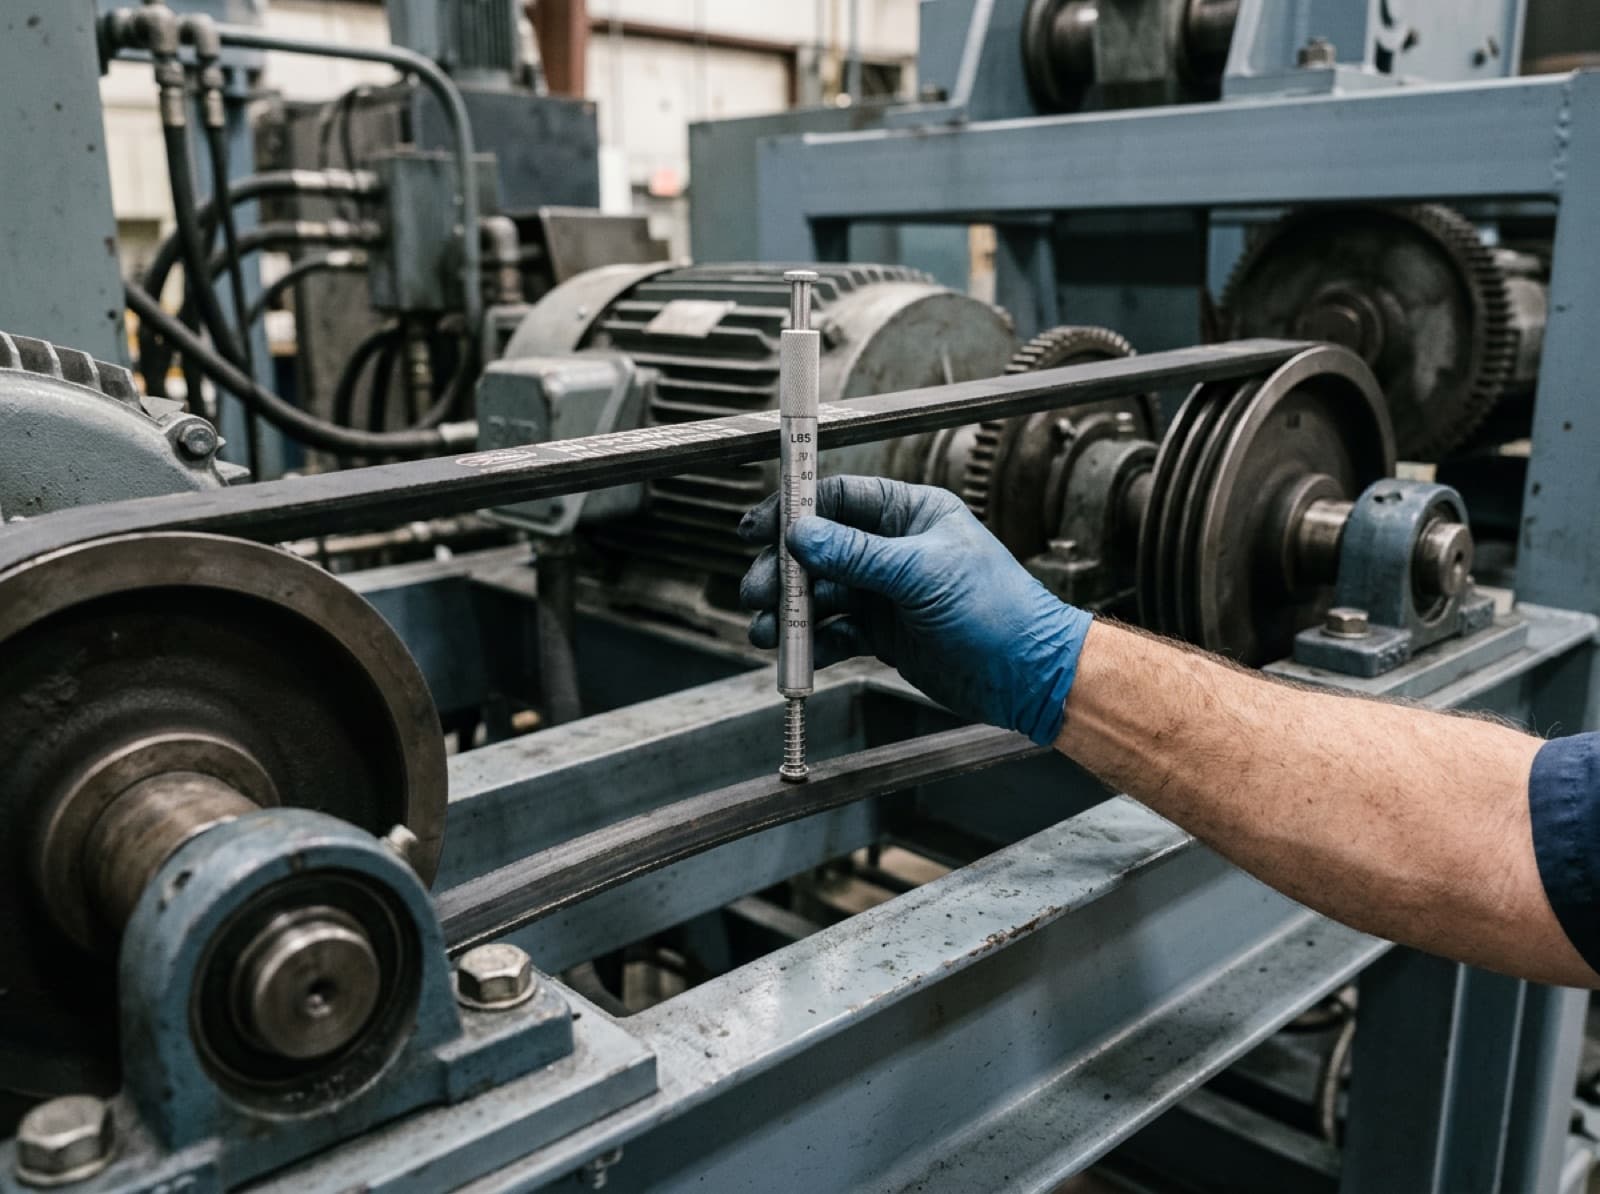
Tension the drive, then test it: press at the middle of the span with the test force for your belt section and measure how far the belt deflects. Target ≈ 16 mm of deflection per metre of span (1.6% of span length). Adjust, rotate the drive a few turns by hand, and re-check.
| Section | Test force (small pulleys) | Test force (large pulleys) | Deflection target |
|---|---|---|---|
| Z / SPZ | 10–15 N | 15–20 N | 16 mm per 1 m of span |
| A / SPA | 20–27 N | 27–35 N | 16 mm per 1 m of span |
| B / SPB | 35–50 N | 50–65 N | 16 mm per 1 m of span |
| C / SPC | 70–90 N | 90–115 N | 16 mm per 1 m of span |
| D | 100–140 N | 140–190 N | 16 mm per 1 m of span |
Typical mid-span test forces per belt. Starting values for general drives — confirm against the drive design for high-power or shock-loaded machinery.
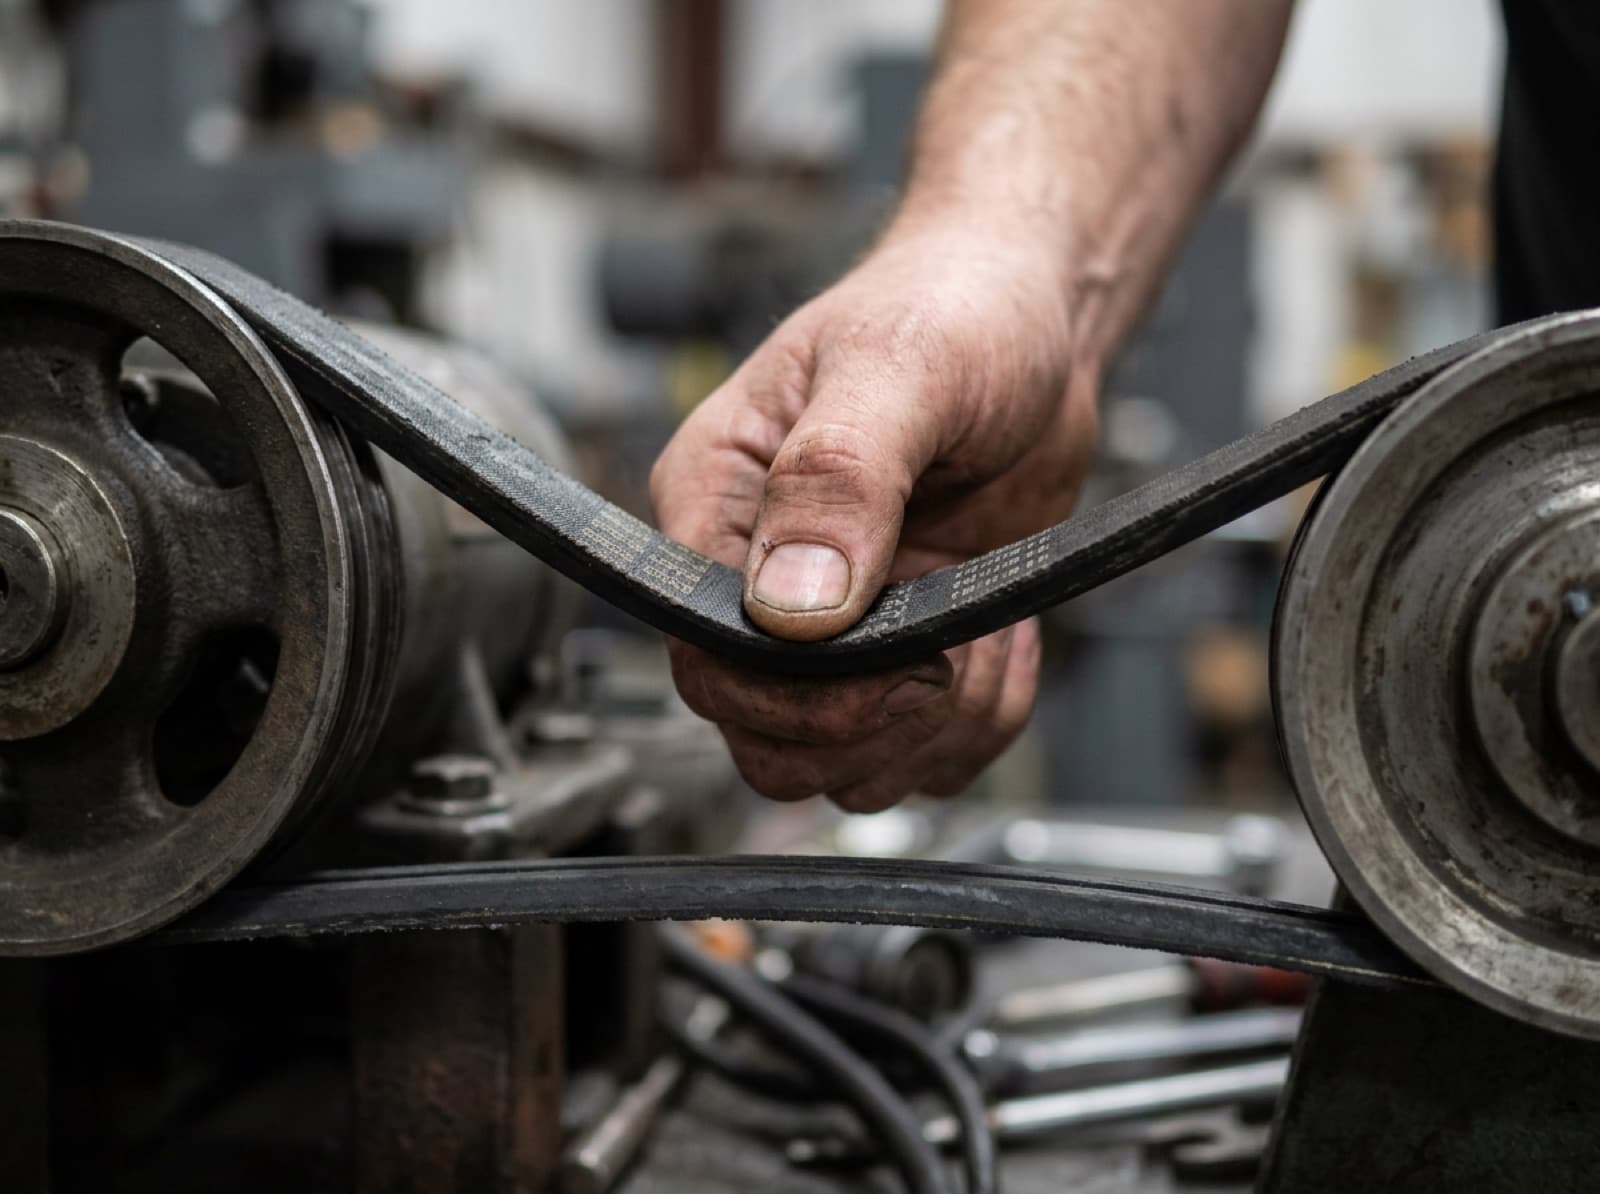
A pencil-type tension gauge makes this a one-hand job and takes the guesswork out of the force. Without one, the thumb test is the field approximation: a correctly tensioned belt feels firm with a confident press and moves about a belt-thickness at mid-span.
Step 4 — Run in, then re-tension
New belts seat into the grooves during the first hours of loaded running and lose a significant share of their installation tension as they do. Run the drive under normal load for 0.5–4 hours, then re-check deflection and re-set. This single follow-up visit is the highest-value maintenance minute on any belt drive — most "new belt slipping" complaints are simply this step skipped.
After run-in, put the drive on the normal inspection cycle: tension and visual check every 3–6 months, and always replace multi-belt sets complete — our cross-reference guide covers matching a full set.
Troubleshooting: what the belt is telling you
| Symptom | Likely cause | Fix |
|---|---|---|
| Squeal on startup | Under-tension, or worn grooves | Re-tension; replace pulley if belt bottoms out |
| Glazed, shiny flanks | Prolonged slip | Replace belt, re-tension properly, re-check after run-in |
| One sidewall worn | Pulley misalignment | Re-align with straightedge, then fit new belt |
| Belt turned over in groove | Misalignment or damaged cord from prying | Re-align; replace belt (cords compromised) |
| Cracking on underside | Age, heat, or pulley too small | Replace; consider cogged belt for small pulleys |
| Repeated stretch beyond take-up | Overloaded drive or wrong section | Re-check drive design — see our selection guide |
| Hot bearings / motor | Over-tension | Back off to deflection target |
Failure symptoms, their usual cause, and the fix.
If a drive keeps eating belts even with correct installation, the drive itself is usually undersized — the classical vs narrow guide covers stepping up to a higher-capacity section without changing the footprint.
Frequently asked questions
How tight should a V-belt be?
Tension it so the belt deflects about 16 mm per metre of span under the test force for its section (see the force table) — roughly firm to a confident thumb press at mid-span. The correct tension is the lowest at which the belt does not slip under full load.
Why does my new V-belt squeal on startup?
Squeal is slip. Either the tension is too low, the belt has not been re-tensioned after run-in, the pulley grooves are worn so the belt bottoms out, or the drive is misaligned. Check tension first, then groove condition.
How often should V-belt tension be checked?
Re-tension once after the first 0.5–4 hours of full-load running (new belts seat and lose tension quickly), then check at regular maintenance intervals — typically every 3–6 months for continuous drives.
Can I use belt dressing to stop slipping?
No. Belt dressing masks the symptom, attacks the rubber compound and attracts dust. A V-belt grips on its flanks by tension and wedge action — if it slips, fix the tension, the groove wear or the alignment.
Belt failing early? Send us the symptom.
A photo of the failed belt plus the drive details is usually enough for us to spot the cause — and quote the right Mitsuboshi replacement from Australian stock.